
Dirty tile and grout can make even the cleanest bathroom or kitchen look neglected. Regular scrubbing keeps your surfaces sparkling and prevents mold, mildew, and discoloration.
Follow these step-by-step tips to make your tiles shine and restore your grout to its original color.
Step 1: Gather All Cleaning Supplies
Before starting, collect essentials: a stiff-bristle brush or old toothbrush, tile cleaner or baking soda, vinegar or hydrogen peroxide, gloves, and microfiber cloths. Having everything ready saves time and prevents interruptions while scrubbing.
Step 2: Sweep and Vacuum the Floor
Remove loose dirt, dust, and hair from the tiles before applying any cleaner. Sweeping or vacuuming ensures that you don’t grind debris into the grout while scrubbing, which could damage the surface or scratch the Tile & Grout Scrubbing.
Step 3: Apply a Grout Cleaner
Use a commercial grout cleaner or a homemade solution (baking soda + water paste or vinegar). Spread it over grout lines evenly and let it sit for 5–10 minutes. This softens dirt, soap scum, and stains for easier Tile & Grout Scrubbing.
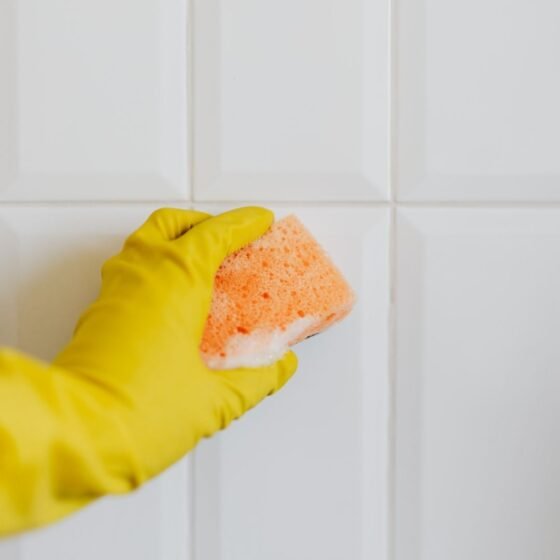
Step 4: Scrub the Grout Lines
Take a stiff-bristle brush or toothbrush and scrub along the grout lines with firm, circular motions. Focus on heavily stained areas. For vertical walls, scrub from bottom to top to avoid streaking or drips Tile & Grout Scrubbing.
Step 5: Wipe Down the Tiles
After scrubbing, use a damp microfiber cloth to wipe away residue and cleaner. For extra shine, rinse the area with clean water. Dry with a separate cloth to prevent streaks and water spots.
Step 6: Treat Stubborn Stains
For tough, discolored grout, mix hydrogen peroxide with baking soda into a paste and apply it directly to problem areas. Let it sit for 10–15 minutes before scrubbing again. This acts as a deep cleaner without harsh chemicals Tile & Grout Scrubbing.
Step 7: Rinse and Dry Thoroughly
Rinse all tiles and grout with warm water. Make sure to remove all cleaning solution to avoid sticky residues. Dry thoroughly with a microfiber towel to prevent mold or mildew from forming.
Step 8: Seal the Grout (Optional but Recommended)
Once the grout is clean and dry, apply a grout sealer. This prevents future stains and protects against moisture, making future cleaning easier and maintaining a fresh appearance Tile & Grout Scrubbing.
Bonus Tips for Perfect Tile & Grout Maintenance
✅ Regular Cleaning: Wipe down tiles weekly to prevent soap scum and dirt buildup.
✅ Avoid Harsh Chemicals: Strong bleach or acid cleaners can erode grout over time; use mild solutions.
✅ Use Toothbrushes for Detail Work: Ideal for corners, edges, and tricky grout lines.
✅ Keep a Spray Bottle Handy: Mix vinegar and water in a spray bottle for quick touch-ups.
✅ Ventilate the Area: Proper airflow helps tiles and grout dry quickly, reducing mildew growth.
Final Thoughts
Consistent scrubbing and maintenance keep your tiles and grout looking fresh, bright, and hygienic.
With these step-by-step tips and bonus ideas, your bathroom or kitchen will stay spotless, and future cleaning will become faster and easier. A little effort now saves hours of scrubbing later!