
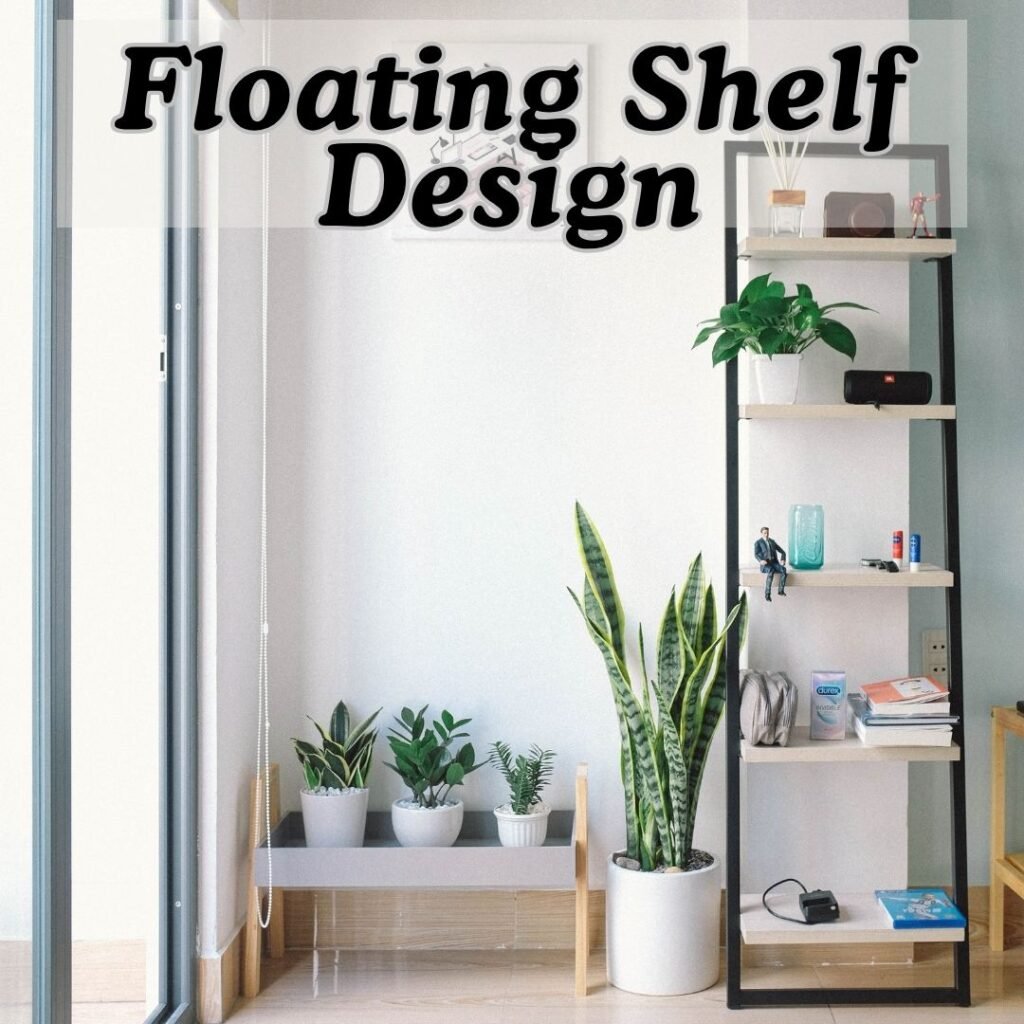
A floating shelf design is one of the easiest ways to add both style and functionality to your walls. These shelves appear to “float” without visible brackets, giving your room a clean, modern look.
Whether you’re decorating a living room, kitchen, or bathroom, floating shelves help display your favorite decor pieces while keeping your space clutter-free.
Step-by-Step DIY Floating Shelf Design
1. Plan Your Layout:
Choose the wall and shelf placement. Measure the space to ensure the shelves are evenly spaced and fit your decor needs. Floating Shelf Design
2. Choose Materials:
Use solid wood, MDF, or plywood for durable shelves. Match the finish (stained, painted, or natural) with your home’s style.
3. Gather Tools:
Level
Drill
Screws and anchors
Tape measure
Stud finder
4. Mark and Drill:
Use a level and pencil to mark where the shelf brackets will go. Drill holes into wall studs for secure support.
5. Install the Brackets:
Attach the hidden brackets or mounting hardware firmly. Make sure they are perfectly level to avoid uneven shelves.
6. Mount the Shelves:
Slide the floating shelf onto the bracket or hardware until snug. Tighten screws if necessary. Floating Shelf Design
7. Style Your Shelves:
Add plants, books, candles, or art pieces for a cozy, personalized touch. Floating Shelf Design
Helpful Tips
Use studs for extra stability—especially for heavy items.
Keep spacing between shelves consistent for a clean, balanced look.
Mix different shelf lengths for a creative wall display.
Final Thoughts:
A floating shelf design is a simple DIY project that instantly transforms your space. It adds storage, enhances wall decor, and brings a modern minimalist touch to any room. With a few tools and creativity, you can achieve a professional finish in just a few hours.