
A clean microwave isn’t just about hygiene—it’s also about keeping your kitchen smelling fresh and your appliance working efficiently.
Over time, grease, food splatters, and spills can create stubborn stains and unpleasant odors. Luckily, with these DIY microwave cleaning tips, you can restore its shine in no time using natural ingredients and smart tricks!
1. Steam Clean with Lemon Water
Fill a microwave-safe bowl with water and lemon slices, then heat it for 3–5 minutes. The steam helps loosen dried food and grease, making it easy to wipe off. Plus, lemon leaves a fresh, citrus scent that instantly refreshes your kitchen. DIY Microwave Cleaning
2. Use Vinegar for Deep Cleaning
Combine equal parts vinegar and water in a bowl and heat it until it steams. The acidic vapor softens tough stains, and vinegar naturally kills bacteria and removes odors. Wipe the interior with a microfiber cloth for a spotless shine.
3. Baking Soda Paste for Stubborn Spots
Mix baking soda with a few drops of water to create a paste. Apply it to sticky areas or burnt food residue. Let it sit for 10 minutes, then gently scrub with a sponge to reveal a clean, grease-free surface. DIY Microwave Cleaning
4. Dish Soap and Warm Water Solution
Add a few drops of dish soap into warm water and place it inside the microwave. Heat for 2 minutes, let it sit, then wipe down the interior. This method cuts through greasy buildup and leaves the microwave smelling clean and fresh.
5. Clean the Turntable Separately
Remove the glass turntable and wash it in the sink using dish soap and warm water. For tough stains, soak it for 10 minutes before scrubbing. Cleaning the turntable separately ensures no hidden residue remains inside your microwave.
6. Use Wet Paper Towels for Quick Cleaning
Place five damp paper towels inside the microwave and heat for 2 minutes. The steam softens grime and allows you to wipe everything easily. It’s a quick DIY trick for everyday maintenance between deep cleans.
7. Wipe with Vinegar and Baking Soda Combo
For maximum freshness, dip a sponge in vinegar and sprinkle baking soda on it. Wipe the interior and the door thoroughly. This combo not only removes stains but also neutralizes odors instantly. DIY Microwave Cleaning
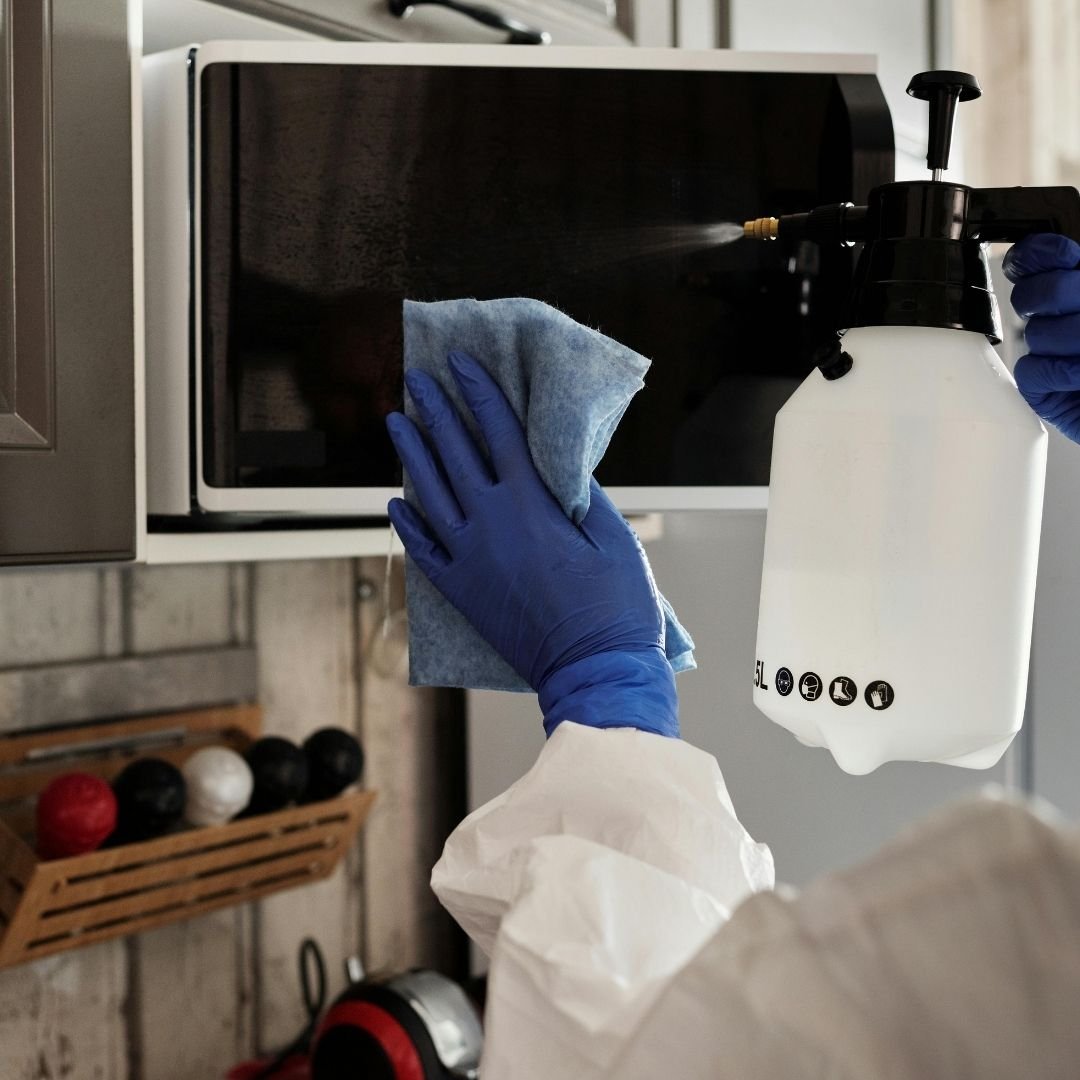
8. Clean the Microwave Door and Exterior
Don’t forget the outside! Spray a vinegar-water solution on the door and handle, then wipe with a soft cloth. It removes fingerprints, grease marks, and gives the microwave a shiny, new look.
9. Freshen with Coffee Grounds
Place a small bowl of used coffee grounds inside overnight (microwave off). It naturally absorbs food odors and moisture, leaving your appliance smelling fresh. This hack is perfect after cooking strong-smelling foods.
10. Keep It Dry and Odor-Free
After cleaning, always leave the microwave door open for 10–15 minutes. This helps moisture evaporate and prevents mildew or bad odors. Keeping it dry maintains a clean and healthy microwave interior for longer. DIY Microwave Cleaning
Bonus Tip: Prevent Future Messes
Cover food with microwave-safe lids or paper towels before heating. This simple step stops splatters and saves time on cleaning later. Prevention is always easier than scrubbing away sticky messes!
Common Mistakes to Avoid While Cleaning a Microwave
Many people unknowingly damage their microwaves during cleaning. Avoid using metal scrubbers or harsh chemicals, as they can scratch or corrode surfaces. Always use soft sponges or microfiber cloths, and ensure your microwave is unplugged during deep cleaning for safety.
Also, never soak the turntable motor area or the ventilation slots—moisture buildup can harm the internal components. Always wipe gently and dry thoroughly to maintain both cleanliness and performance.
DIY Natural Deodorizer Spray for Microwaves
Create a quick DIY deodorizer by mixing 1 cup of water, 2 tablespoons of vinegar, and 1 teaspoon of baking soda in a spray bottle. After cleaning, spray the interior lightly and wipe it down. This keeps your microwave fresh-smelling and germ-free for days.
Why Regular Microwave Cleaning Matters
A dirty microwave isn’t just unpleasant—it can also be unhygienic and inefficient. Grease buildup absorbs heat unevenly, which affects cooking performance. Plus, leftover food residue can harbor bacteria and cause unpleasant smells. Regular cleaning keeps your kitchen safe, healthy, and energy-efficient.
Eco-Friendly Microwave Cleaning Tips
Go green with your cleaning! Instead of chemical sprays, use natural cleaners like vinegar, lemon, and baking soda. These ingredients are safe for your appliance, non-toxic for your family, and environmentally friendly. You’ll get a sparkling microwave without harmful fumes or chemicals.
How Often Should You Clean Your Microwave?
For best results, give your microwave a quick wipe daily and a deep clean once a week. Regular maintenance prevents stains, odors, and sticky messes from building up. Consistency is the key to keeping your kitchen appliance looking new.
Pro Tip: Add a Scent Boost
If you want your microwave to smell amazing, add a few drops of essential oils like lavender or citrus to your cleaning mixture. It adds a pleasant aroma while sanitizing your appliance naturally.
Final Thoughts
A clean microwave is the heart of a healthy, well-maintained kitchen. With these DIY microwave cleaning hacks, you can remove stains, eliminate odors, and keep your appliance shining like new.
Whether you use lemon, vinegar, or baking soda, these natural solutions make cleaning effortless and eco-friendly.
Remember, a few minutes of care after every use saves you from hours of scrubbing later. Keep it fresh, keep it spotless — your kitchen will thank you!