
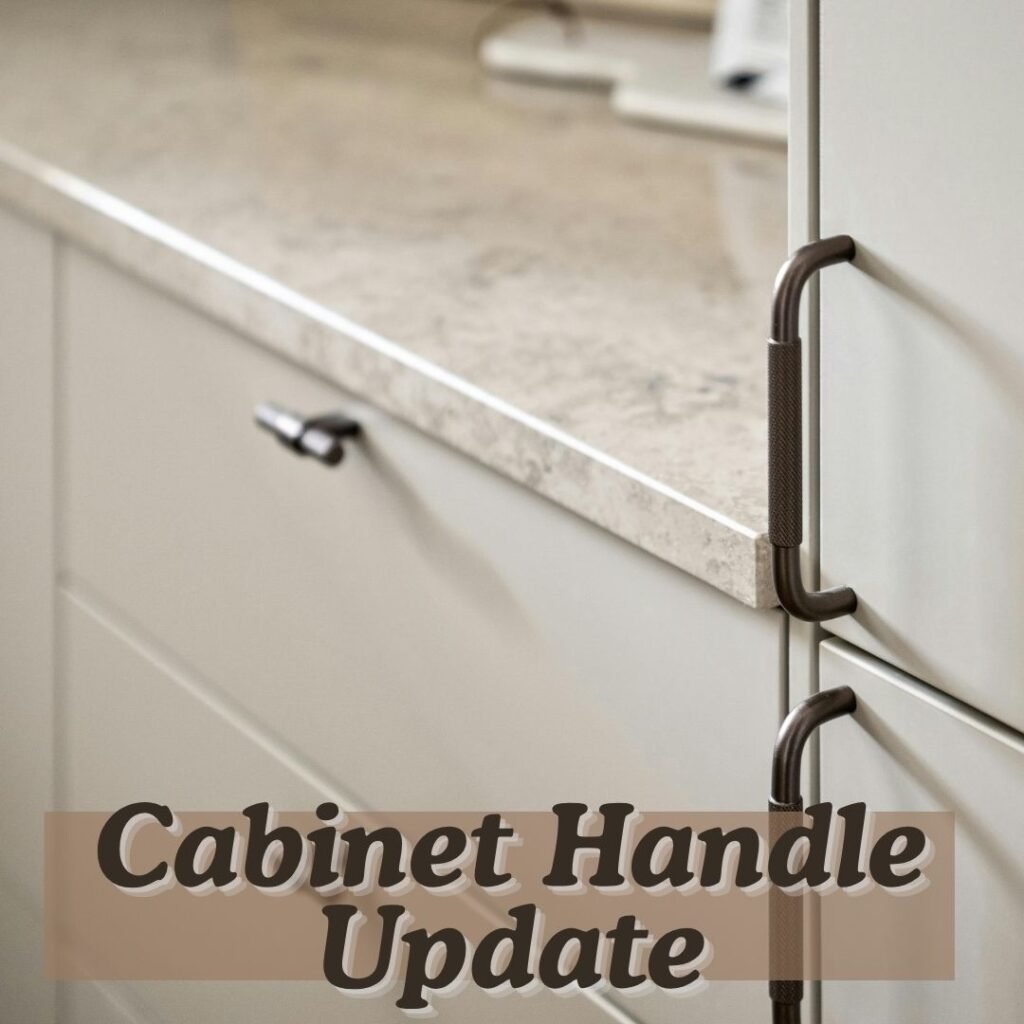
Small changes can make a big difference in your home. A cabinet handle update is a quick and affordable way to modernize your kitchen, bathroom, or storage space.
Swapping old handles for new sleek, stylish hardware instantly refreshes your cabinets, adds personality, and improves functionality. With simple DIY steps, you can achieve a professional look without calling a contractor.
Step-by-Step DIY Cabinet Handle Update
1. Choose Your Handles:
Pick handles that complement your cabinet style. Popular options include matte black, brushed nickel, brass, or vintage designs.
2. Gather Tools:
Screwdriver
Measuring tape
Pencil
Drill (if needed)
Level (for alignment)
3. Remove Old Handles:
Unscrew and carefully remove existing handles. Keep screws if they fit new handles.
4. Measure and Mark:
Mark new handle placement using a tape measure and pencil. Ensure consistency across all cabinets.
5. Install New Handles:
Screw in the new handles. Use a level to ensure they are straight and aligned.
6. Check Functionality:
Open and close each cabinet to confirm handles are secure and comfortable to use.
Helpful Tips
Replace all handles at once for a cohesive look.
Consider matching drawer pulls and cabinet handles for style consistency.
Clean the cabinet surface before installation for a polished finish.
Final Thoughts:
A cabinet handle update is a simple yet impactful home improvement project. It instantly modernizes your space, adds style, and can even increase your home’s appeal.
With just a few tools and careful placement, you can give your cabinets a fresh, professional look in a weekend.